Intro
Getting your eID is quick and straightforward. To obtain an electronic ID, you will need to go through the enrollment process at the Civil Registration Offices (ARC). For a digital Seal, the process takes place at the Kosovo Business Registration Agency (ARBK).
For now, online enrollment is not available. This is intentional, to ensure the highest possible level of assurance and identity verification.
During enrollment, a Registration Officer will verify your identity, collect the necessary data to issue your digital ID or Seal, and — if needed — help you store your credentials safely in your Wallet. The whole process usually takes no more than 5 minutes.
What do you need
To get your eID or digital Seal(s) you will need:
- your
Kosovo IDcard for eID or arecognised ID documentfor the digital seal - a
mobile phone(iOS or Android) withKosovo phone numberandmobile data connection - an
email accountconfigured and readable from the mobile phone - only for the digital seals you need a
valid Power of Attorneyfrom a company stating that you are in title to receive a digital seal for stamping company documents
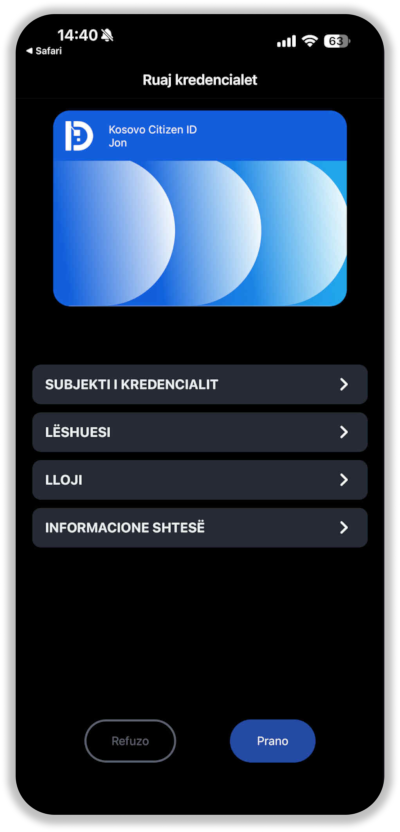
We highly recommend to store the credentials of your eID and/or digital seal(s) in the wallet in order to get access to available authentication services or to other services that may become available in the future. However, the wallet is not necessary if you intend to use your eID only to digitally sign documents. In any case, even if you do not connect your wallet during enrollment, you can use later the self-service portal to connect your wallet to your eID or seal(s).
For Kosovo Wallet you need minimum iOS 13 or Android 5.0.
Enrollment
The enrollment process will be carried out in several steps:
Collect data
The registration officer collects your personal data, scans and store the pictures of the front and back of your ID card (or your ID document and the Power of Attorney for digital seals)
Verify contact
The registration officer verifies your contact information. You will receive an email and you must open it on your mobile phone. Click the link from that email, accept the Term and Conditions and ask for a One Time Password (OTP). You will receive an SMS with a code; you have to input that code into the dedicated space and to send it. Once the code is received by the system, your contact information has been verified.
Once your contact information has been verified, it cannot be changed anymore
Approve request
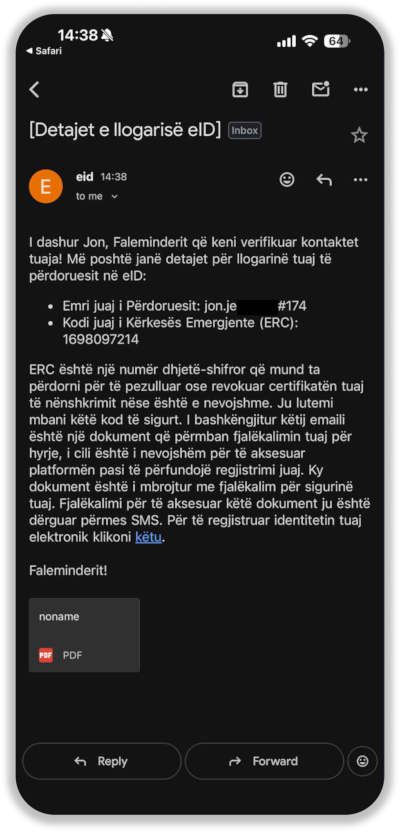
The registration officer will approve your request for issuing a digital ID (or seal). You will receive another email with a code protected PDF file attached and a new SMS message containing the code for opening the PDF file. The email contains important information about your certificate such as your user name and Emergency Recovery Code (ERC) and the PDF contains the password associated to your user name. The email contains also a link you have to click to continue the enrollment with the next steps.
You will need the user name, password and Emergency Recovery Code (ERC) to access the self-service portal and manage your certificate. We recommend to save this information in a safe location which can be on your phone, but protected by your biometrics or a strong password.
The certificate information is associated with only one certificate. This means that you may have multiple sets of such type of information if you will have a digital ID and multiple digital seals.
Do not panic if you forget/lose the certificate information, the self-service portal provides you with features that will help you to recover/change them.
Security info
Click on the link from the last email you received and you will be directed to the next steps which are setting the certificate security information (PIN and PUK) and connecting the wallet to store the certificate credentials into it. Read and accept the contract between you and the Government for using the certificate. Set the PIN and PUK and advance to the Connect Wallet or Sign step.
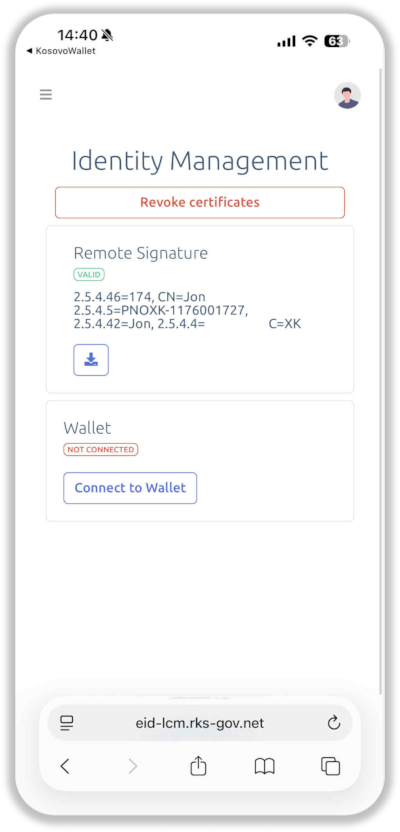
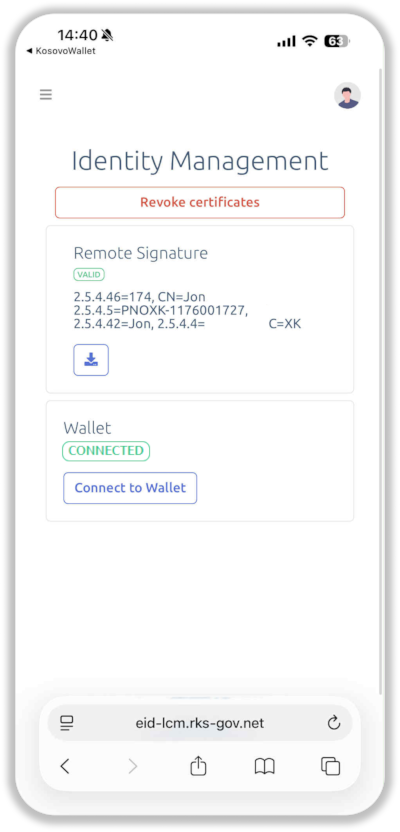
Connect wallet
If you want to connect the wallet during enrollment, select Connect Wallet.
We highly recommend to connect your wallet during the enrollment process because the registration officer is there to assist you if something does not goes as expected. However, using the self-service portal you can connect your wallet later.
Sign certificate
The last step is to sign the certificate. You have to click on Sign, wait for another One Time Password (SMS message), input it in the related place and send it back. Then your new certificate will be issued and will become valid for the next 2 years.
Do not panic if you forget/lose the PIN or PUK, the self-service portal provides you with features that will help you to recover/change them.
Enrollment moments

Self service
You can manage your certificate using the self-service portal.
Support
During the period of validity of your certificate, if you experience problems, you can always use the eID technical support.
On this page